

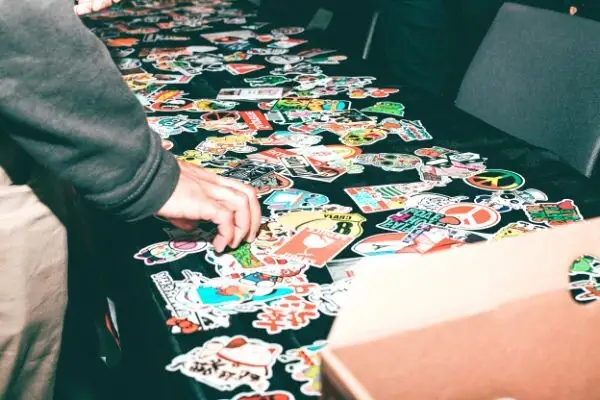
How to Apply to Die Cut Vinyl Stickers
How to Apply to Die Cut Vinyl Stickers
To apply a die-cut vinyl sticker, first, remove the backing paper. To remove the backing paper, use a 50/50 solution of rubbing alcohol and water. This will keep the adhesive from fading and will ensure that the sticker will stick. To apply the stickers, make sure to avoid direct sunlight and cold surfaces. Also, you should avoid using any window-cleaning products, as these can leave residue, which can reduce the clinging ability of your decals.

After cleaning the area, use a razor blade scraper to remove the adhesive. The best time to do this is when the surface is between 70 and 80 degrees Fahrenheit. To remove the sticker from a painted surface, use a hairdryer or a heat gun. There are many YouTube videos and websites with tutorials for applying die-cut vinyl stickers. These will provide the necessary instructions for applying your vinyl decals correctly.
Once you have trimmed the vinyl, use an offset tool to add a cut line that is outside of your drawing. When you are finished, use an application tool to smooth out the sticker and ensure that the cut line is within the correct position. Then, follow the steps outlined above. You can now apply the decals to any desired surface. If you are new to the process of applying die-cut vinyl stickers, follow these steps to ensure a successful application.
You can also use a razor blade scraper to remove the sticker from the glass. These are best applied to surfaces that are between 70 and 80 degrees Fahrenheit. If you do not feel confident in your skills, you can also check out YouTube videos and websites that provide step-by-step guides on applying die-cut vinyl stickers. There are plenty of websites and YouTube tutorials available online. Most of these videos contain useful instructions on how to apply the decals to a variety of surfaces.
When applying die-cut vinyl stickers, you should start with the edges. For a good, smooth application, you should use the offset tool to offset the cuts on the edges. The offset tool will ensure that your stickers stick to the surface without wrinkling. Then, you can smooth out the edges with your application tool and let the stickers dry. A few minutes of work will allow your decals to stick perfectly.
You can also use the offset tool to add an offset cut line outside of your design. This will eliminate the background or the border that may exist on the sticker. This is a good way to apply a die-cut vinyl sticker. The offset tool makes the decals adhere to a wide variety of surfaces. You can apply stickers to windows or on a glass surface using a scraper. A razor blade scraper is most effective when it is used on a flat surface.
When it comes to applying die-cut vinyl stickers, you can use a rotary cutter to cut the stickers. You can also use a rotary cutter to apply the vinyl stickers to the glass. The offset tool works best when the surface is between 70 and 80 degrees Fahrenheit. In order to apply a vinyl sticker, make sure to apply it with a smooth and even application method. If you're unsure of the process, there are several YouTube videos and websites with how-to instructions.
Before applying a die-cut vinyl sticker, you should first clean the surface of the surfaces where you plan to place the sticker. Then, you should prepare the surface to be covered with the sticker. You should apply the stickers one by one using the same method as you would apply a regular sticker. This will help you to get a perfect fit. Once you're satisfied with the final results, you can now apply the sticker to a larger surface.
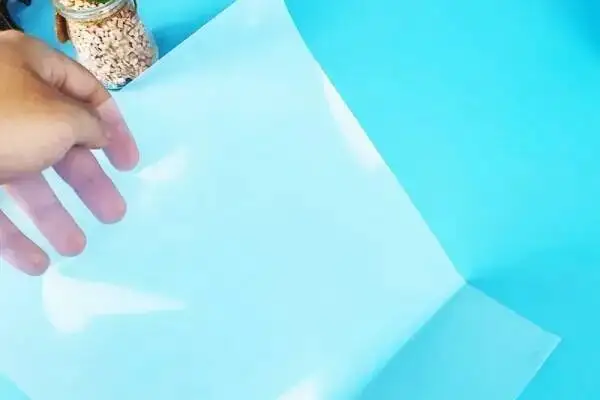
To apply a die-cut vinyl sticker, make sure to use the proper tools. Most stickers have three layers. The top layer is the transfer tape. The bottom layer is the sticker itself. To apply a die-cut sticker, you should press the backing paper and sticker together. When you are done, your new decal will look like it's been applied perfectly. Then, peel it off and it will be glued to the surface.
Related Articles

Product Groups
- Metallic Label
- Supermarket Labels
- Food Label
- Tyre Label
- Resealable Label
- Holographic Labels
- Electrical Label
- Adhesive Vinyl Roll
- Inkjet Vinyl Sticker Paper
- Paper Box
- Temperature Resistant Labels
- Clothing Label
- Office Labels
- Bubble Mailer
- Bottle Label
- Chemical Label
- Anti Counterfeit Label
- Temperature Indicator Sticker