

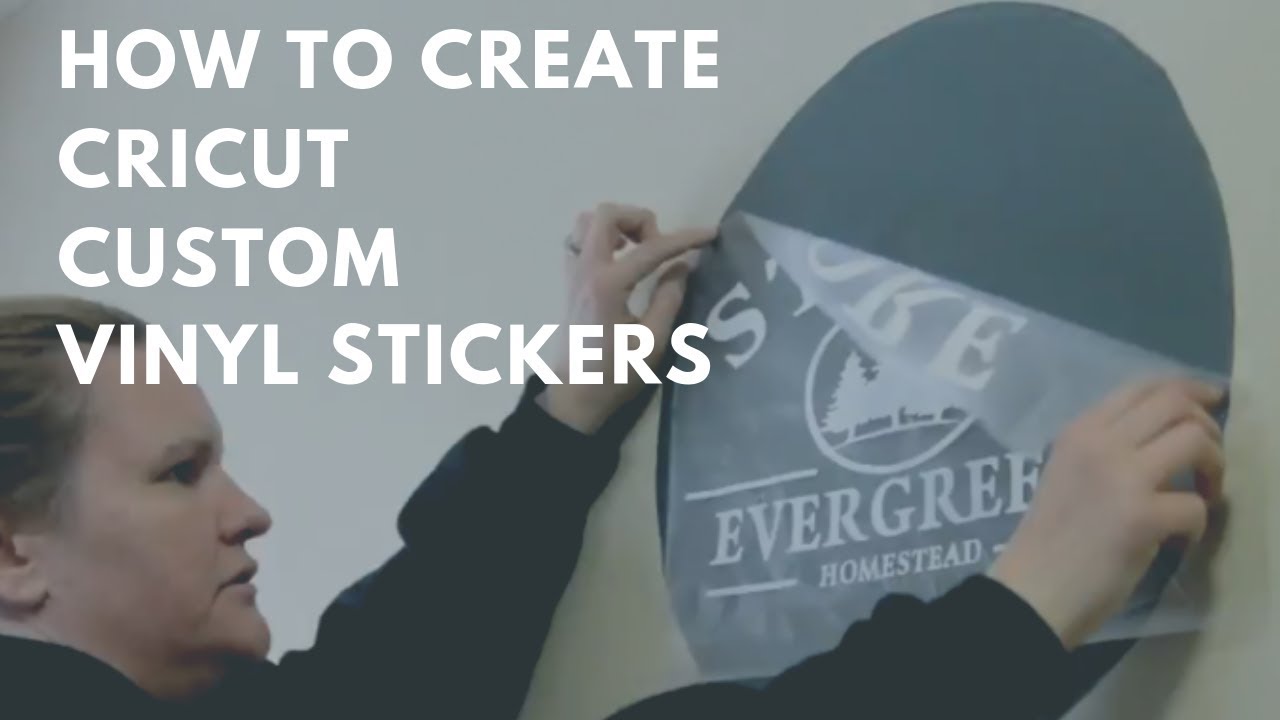
How to Cut Vinyl Stickers on the Cricut
How to Cut Vinyl Stickers on the Cricut
The first step is to choose the image you wish to cut. Then, select Print then Cut. The size limit is 6.25 X 9.75 inches. Next, locate the Insert Shapes tool in the left menu. It's a square shape. Lock the size of the grid to this size. In the top menu bar, click the Arrange tool. This will send a rectangle to the back. The rectangle will be the size of your sticker sheet.
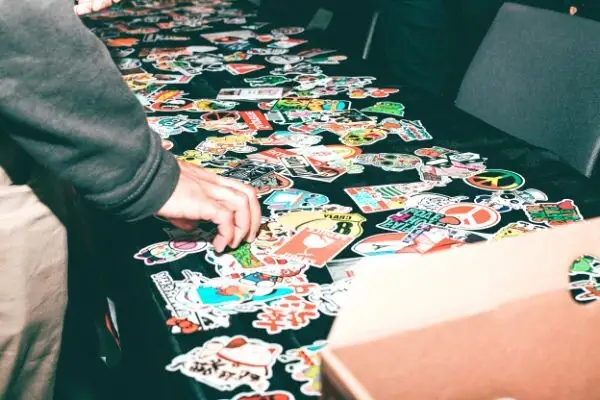
You can cut a variety of different designs using the Cricut. When cutting a new design, always try a test cut first. Make sure the blade cuts through the vinyl but doesn't pierce the backing. This clean-cut is known as a kiss cut and makes it easier to apply and weed the decal. If the test-cut cuts through the backing, you'll need to make adjustments to the settings.
Once you have selected the image you want to cut, you need to use the Weeder Tool to separate the vinyl from the backing. Then, use the Cutting Tool to cut off half of the design. If you want to cut the middle of the design, be sure to use both sides of the image. Then, use the Slice function to break the design apart. Once you're satisfied with the result, you can now remove the black glass.
The next step is to ungroup your sticker images. Then, you need to weld them together so that they become one solid image. To do this, highlight the entire design in the Design Space and then click on the Slice tool. After a slice has been created, use the Slice tool to cut off the rest of the image. After the design has been removed from the sheet, you can apply the Vinyl Stickers to your water bottles.
Then, select the design that you want to cut. For example, if you want to cut a deck chair, choose the slice feature. Then, you can highlight the image and cut it. Then, click the Slice button to assemble the pieces into one. Then, add a layer on top of it, and then use the knife tool to break it apart. Once this has been done, you're ready to transfer the images to the desired surface.
Once you have finished choosing the design, make sure you select the size of the image. The larger the design, the larger the mat. This will allow you to cut the design on the mat. Once the design is complete, simply move on to the next step. You'll be able to make a sticker on your water bottle or mug. Once you have the image, you can apply the stickers to the surface.
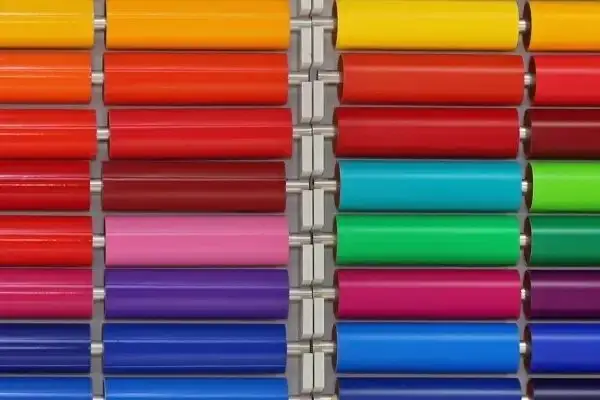
Then, select the design you want to cut. Then, select the color of your design. The color of the design will determine the size of your image. Once you've done this, you're ready to cut the image. You can now choose which design will be printed. The size of the design is important. Once you've chosen the colors and designs, it's time to choose the size of the cutting mat.
Now, you need to choose a size for your design. It's best to start with a smaller design and then expand it later. Then, you're ready to cut your design. If you want a large design, you'll need to make it bigger by selecting a larger mat. However, you should never use a cutting tool that doesn't have a corresponding size.
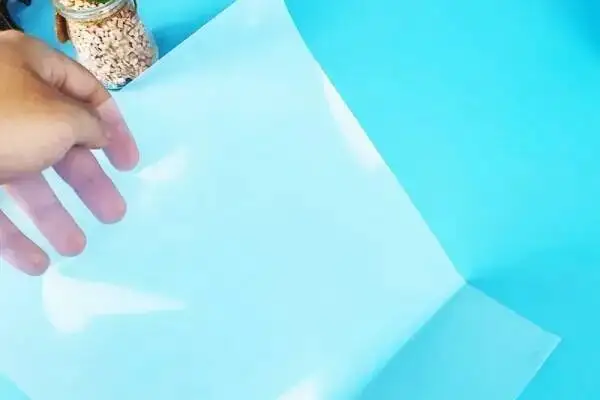
Lastly, you need to prepare the material for cutting. Aside from normal paper, you can use vinyl stickers on various surfaces. You can even print them on photo paper, envelopes, and other specialty inkjet papers. If you're using a Cricut Explore Air, you'll have the option to print the design on a variety of surfaces. Once you've completed this, you can start creating the image.
Related Articles

Product Groups
- Metallic Label
- Supermarket Labels
- Food Label
- Tyre Label
- Resealable Label
- Holographic Labels
- Electrical Label
- Adhesive Vinyl Roll
- Inkjet Vinyl Sticker Paper
- Paper Box
- Temperature Resistant Labels
- Clothing Label
- Office Labels
- Bubble Mailer
- Bottle Label
- Chemical Label
- Anti Counterfeit Label
- Temperature Indicator Sticker