

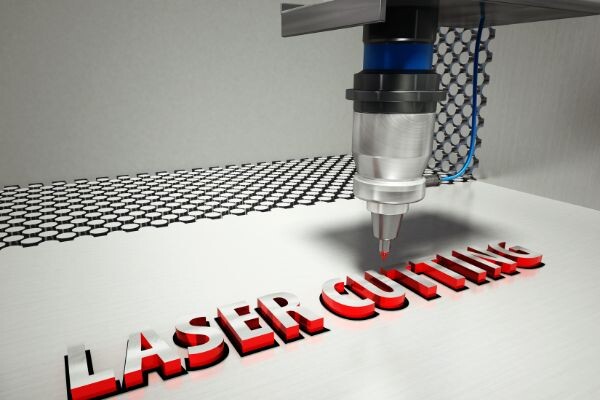
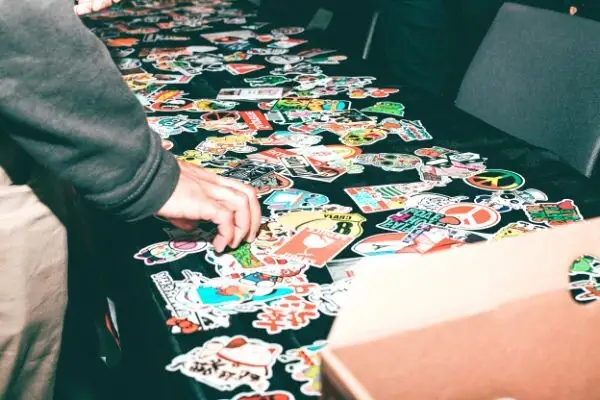
How to Laser Cut Vinyl Stickers
There are countless ways to customize your vehicle or bike with stickers. Whether you want to add a little personality to your ride, show off your favourite team or athlete, or just add some fun flair, vinyl stickers are the perfect way to do it! In this guide, we'll teach you how to laser cut vinyl stickers using a simple and easy process. So whether you're wanting to create your own custom stickers or just have some fun on your rides, be sure to check out this guide!
The Benefits of Laser Cutting Vinyl
Laser-cutting vinyl stickers are a great way to add a little bit of customization and pizzazz to your projects. Here are some of the benefits of using this technology:
-They are very precise and can be used for a variety of purposes, such as adding decals or logos to materials.
-They can be easily removed without leaving any residue or damage behind.
-They are relatively affordable and can be customized to fit your specific needs.
What Equipment You'll Need
If you're new to laser cutting vinyl stickers, the first thing you'll need is a laser cutter. There are many different types of laser cutters, so it's important to find one that fits your needs. Here are the basics:
Laser Cutter Type:
-Cutting Capacity:
-Input Material:
-Output Material:
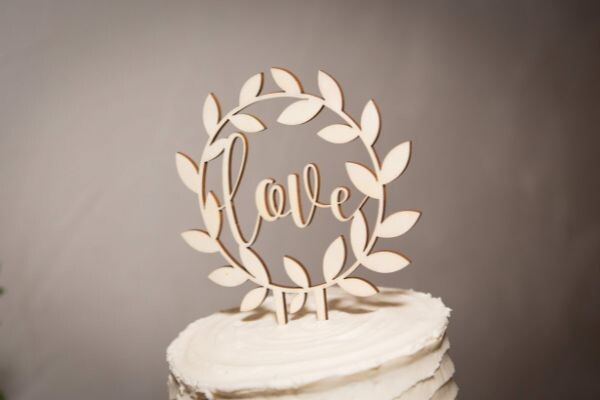
There are three main types of vinyl stickers you can make with a laser cutter: badges, labels and decals. Let's take a look at each one.
Badges: A badge is a simple sticker with one or more images or text printed on it. They're perfect for using on products to personalize them. For example, you could make custom badges for your team members, or print out custom labels for your product inventory.
Labels: A label is similar to a badge, but it's designed to be attached to an object. For example, you could use labels to identify different parts of a product in your warehouse, or on boxes that shipped out from the factory.
Decals: Decals are unique because they don't have any text or images on them. They're made up of small pieces of vinyl that are glued to a surface. For example, you could use decals to add a logo or other branding to your product.

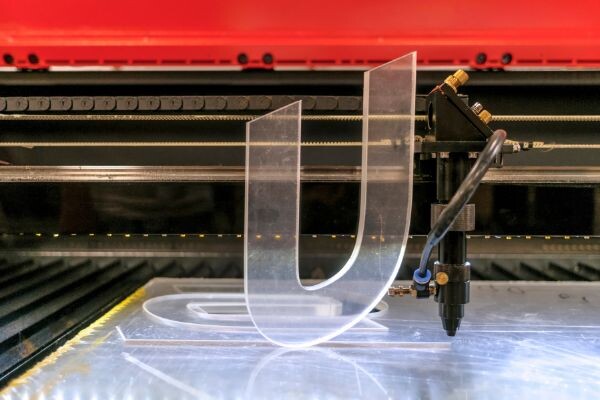
How to Cut Vinyl Stickers?
If you’re new to vinyl stickers, or just looking for a way to add some extra pizzazz to your projects, you’ll want to learn how to cut them yourself. Here’s a quick guide on how to laser-cut vinyl stickers:
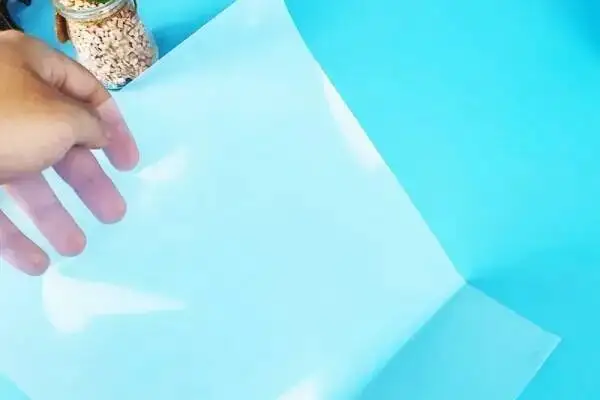
1. Gather the materials you need: Your laser cutter, vinyl sticker sheets, and whatever else you might need to make your project (scissors, tape measure, etc.).
2. Prep the sticker sheet: Make sure that the sticker sheet is completely clean and free of any dust or dirt. If the stickers have adhesive on them, you’ll need to remove them first.
3. Load the sticker sheet into your laser cutter. Make sure that the orientation of the stickers is correct—they should be facing down when they go into the machine.
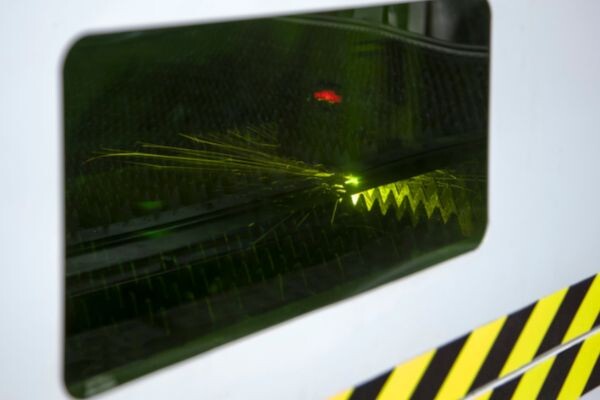
4. Set up your parameters: In most laser cutters, there are various settings you can adjust to customize the results of your cuts. Experiment until you find something that works best for you.
5. Start cutting!: Feed the sticker sheet into the machine and wait for the laser beam to start cutting through it. Be patient—the process can take a while, so don’t get discouraged if it takes a little bit of trial and error to get the hang of it.
6. Remove the stickers from the sheet: Once the cut is complete, use your hands or a tool like a tape measure to pull the stickers off the sheet one at a time. Be sure to remove any excess adhesive before you go!
Tips for Making Perfect Stickers Every Time
Making perfect stickers is a skill that can be learned with practice. Here are some tips to help you make the most of your vinyl sticker-making experience.
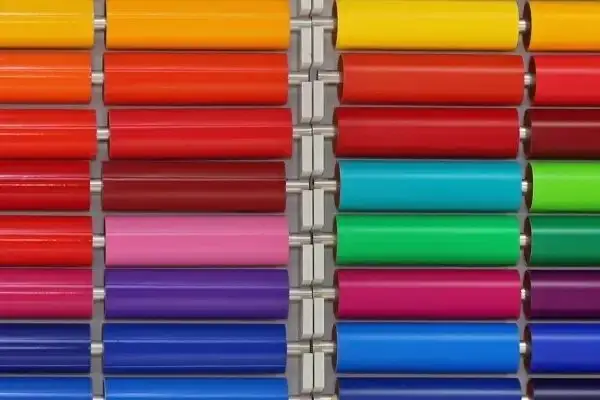
1. Choose the Right Material and Size for Your Stickers
The material and size of your stickers will affect the overall results. The type of vinyl sticker you choose, as well as its size and shape, will determine how easy it is to apply and remove.
For general-purpose stickers, we recommend using vinyl that is 3 mil or less in thickness. This type of vinyl is easy to cut and removes cleanly without leaving any adhesive residue behind. If you're looking for more durable stickers, however, we recommend using vinyl that is at least 5 mil in thickness. This will make it harder to cut but also more durable.
2. Cut the Vinyl Strips Properly
If you want perfect stickers every time, it's important to follow the proper cutting instructions. To make sure your stickers look professional and are easy to apply, start by cutting the vinyl strips the correct length and width. Make sure not to over-cut or UNDER-cut the vinyl, or you'll end up with uneven edges and struggling to remove them correctly.
3. Apply the Stickers Correctly
To apply the stickers correctly, start by making a small hole at one end of the sticker. This will help you insert the sticker into the correct location on your project. Once in place, press down firmly until the sticker is secure.
4. Remove the Stickers Correctly
Once you're finished using your stickers, it's important to remove them correctly. To do this, use a thin blade or a razor to carefully cut around the edges of the sticker. Then, use a sticky adhesive remover to easily remove the stickers from your project.
Conclusion
If you're like most crafters, you probably have a few vinyl stickers lying around that you never use because they're just too difficult to apply. Well, fear not! This article will teach you how to laser-cut vinyl stickers using simple tools and techniques that are easy enough for anyone to follow. Not only that, but by following these steps, you'll be able to create custom stickers that will perfectly complement your crafts and outfits.
If you're unsure of how to laser-cut vinyl stickers, don't worry. It's not as difficult as it sounds. This article will teach you the basics of this popular printing process. Start with an illustrator file. This file contains all the artwork you need. You should set the blade to 2, the thickness to 33, and the speed to five. Use your application tool to smooth out the cut lines and align the stickers on the paper.
After the design is cut, you will need to apply a clear acrylic spray. While the clear acrylic spray isn't waterproof, it will keep your stickers from fading in the rain or sun. Alternatively, you can choose to use printable vinyl, which is much cheaper. You'll need an inkjet printer to print your designs. But the cost will be worth it because there are fewer areas for mistakes. If you make your own stickers, you don't have to worry about weeding, transferring, or dealing with customers whose decals are ripped off.
Once you've cut the vinyl, you should adhere it to the surface. Once the adhesive is applied, you should peel the top printable layer of the vinyl off. This layer will not be waterproof, but it will still last for at least a year. If the surface is clean, you can use a spray that has a clear plastic coating to protect the sticker. The laminated sticker will not be waterproof, but it will be waterproof for about five years.
Another way to print your vinyl is by buying a laser cutter. This is a machine that allows you to cut a shape on the vinyl. Unlike a regular vinyl cutter, a laser cutter can cut the shape of the design with the same accuracy. The vinyl will be very durable and will last for years, but the top printable layer will leave a raised lip. This is a problem that can be easily solved by placing the stickers on a flat surface.
The best way to laser-cut vinyl is to purchase an inexpensive vinyl cutter. These machines are inexpensive and easy to use. A basic laser cutter is $300 on eBay. You can also buy a printer to print the vinyl on the sticker. If you want to create custom-cut stickers, you should also have the necessary supplies. You'll need a good quality inkjet printer and a good computer. It should be relatively cheap if you're starting a home business.
A laser cutter can also cut PVC vinyl. You can print it with an inkjet printer. The inkjet printer can print on both types of vinyl. The laser cutter can also make customized stickers with an inkjet printer. Printed vinyl will give you the freedom to customize your decals. However, most of the vinyl you can find contains PVC. This means that the sticker will have a raised lip.
The top printable layer will last about a year. It won't be waterproof, but it should last for about five years. It is important to remember that PVC vinyl has higher transparency than regular adhesive vinyl. When laser cutting the vinyl, it will be easier to remove it. If you don't want to deal with PVC vinyl, you can purchase a clear acrylic spray. If you don't have a laser cutter, this is a much cheaper alternative.
If you're unsure of what you're looking for in a vinyl decal, a laser cutter is the better option. It is much cheaper and less expensive than a laser, but it's not as durable. If you're looking to start your own business, a vinyl cutter is a way to go. The printer can save you hundreds of dollars a year, and you can use it to sell stickers.
In addition to vinyl decals, you can also use these stickers to decorate your home. You can create vinyl stickers for any occasion and personalize them with your favourite photos, images, or even your own designs. You can even make your own custom shirts and mugs for your customers. It doesn't matter where you want to put your stickers; they will be unique and beautiful. Just remember to follow the instructions carefully.
Related Articles

Product Groups
- Metallic Label
- Supermarket Labels
- Food Label
- Tyre Label
- Resealable Label
- Holographic Labels
- Electrical Label
- Adhesive Vinyl Roll
- Inkjet Vinyl Sticker Paper
- Paper Box
- Temperature Resistant Labels
- Clothing Label
- Office Labels
- Bubble Mailer
- Bottle Label
- Chemical Label
- Anti Counterfeit Label
- Temperature Indicator Sticker