

How to Print and Cut Vinyl Stickers
How to Print and Cut Vinyl Stickers
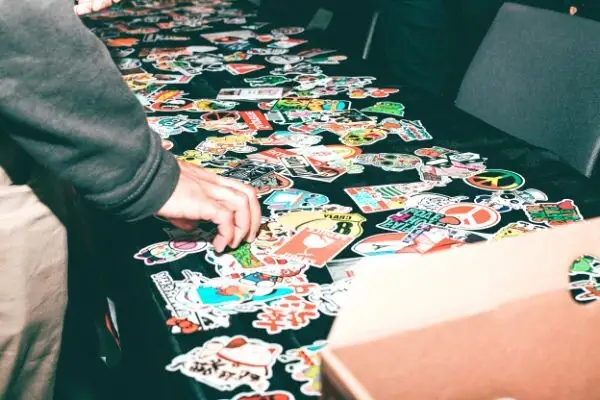
If you are thinking about making your own vinyl stickers, you can easily print and cut them in a few simple steps. First, you should arrange your designs on the page. Ensure that all the designs are in a neat grid. To add cut lines, go to the Trace panel on the right and drag a rectangle to the desired size. Then, you should adjust the threshold to 100%. Now, your sticker sheet will be ready for printing.

To print your vinyl stickers, you must first draw your design on a piece of paper. Choose a small enough size that you can fit on an 8 x 11-inch sheet. It is best to keep your designs simple and clean. Alternatively, you can use online images to draw a design that you would like to have printed on a sticker. After you've finished the drawing, you can cut the vinyl.
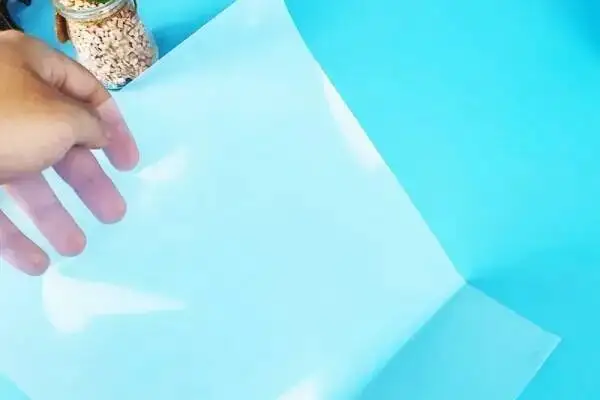
Once you've done that, you can use an over-laminate sheet. Simply place the over-laminate sheet over the vinyl paper and apply it firmly. Then, peel the over-laminate sheet off gently. Then, cut your vinyl sticker. Make sure the sticker is flat and overlapping the other sheet so that it won't have any air bubbles. If you'd like a more intricate design, you can use a Cricut to cut the design into pieces.
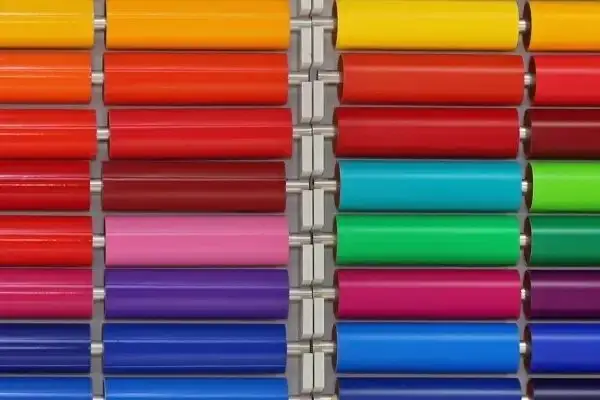
To cut vinyl stickers, you will need image editing software with a cutting mat. Then, insert the sticker paper into the cutter and press the print button. Then, peel off the white and clear sheets of vinyl. When you've removed all the unused vinyl, it will be ready for cutting. The printer will print on white or clear vinyl printer paper. This way, you can easily remove the printed sticker sheet from the sheet without any mistakes.
After you have printed the vinyl sheet, you need to cut it out with a cutting mat. A knife and a ruler will be required to cut a rectangular sticker. If you want to round the sticker, use a scissor without a knife. Once you've cut the sticker, peel it off completely. If you want to use it for a more decorative project, you can also place a clean sheet on the top of the sticker paper.
Once you've printed your sticker design, you should load the sheet face down. Next, select a high-quality print mode for your printer and align the top left-hand grid with your sticker paper. After a few minutes, remove the paper and then carefully peel it away. The sticker will come out beautifully. This is a great DIY project for anyone who loves to make their own stickers. When you've finished cutting, simply peel off the overlaminate sheet.
You can easily print and cut vinyl stickers by using an inkjet printer and a cutting mat. Usually, you can use a cutting mat for both types of vinyl. After you've cut the vinyl sheet, you should separate the stickers and discard the rest. You can use two fingers to peel off the sticker. When you've finished, you'll be able to apply it to any surface you want.
Once you've created the design, you need to laminate it. The over-laminate sheet can be purchased online or at an office supply store. It is essential that the sticker paper is flat, otherwise, the vinyl will stick out. Once the vinyl sticker has been laminated, you'll have to apply the over-laminate sheet. During this step, you should avoid using a clear sheet.
After selecting the vinyl sticker design, place the sheet on the cutting mat. To create a square or a rectangular sticker, you need to place it on the cutting mat and cut it with a straight edge. If you'd like to round the sticker, use scissors without a knife. Once you've cut the vinyl sheet, peel off the stickers. You'll have to remove the discarded pieces to make room for the new stickers.
Related Articles

Product Groups
- Metallic Label
- Supermarket Labels
- Food Label
- Tyre Label
- Resealable Label
- Holographic Labels
- Electrical Label
- Adhesive Vinyl Roll
- Inkjet Vinyl Sticker Paper
- Paper Box
- Temperature Resistant Labels
- Clothing Label
- Office Labels
- Bubble Mailer
- Bottle Label
- Chemical Label
- Anti Counterfeit Label
- Temperature Indicator Sticker